Creating Events
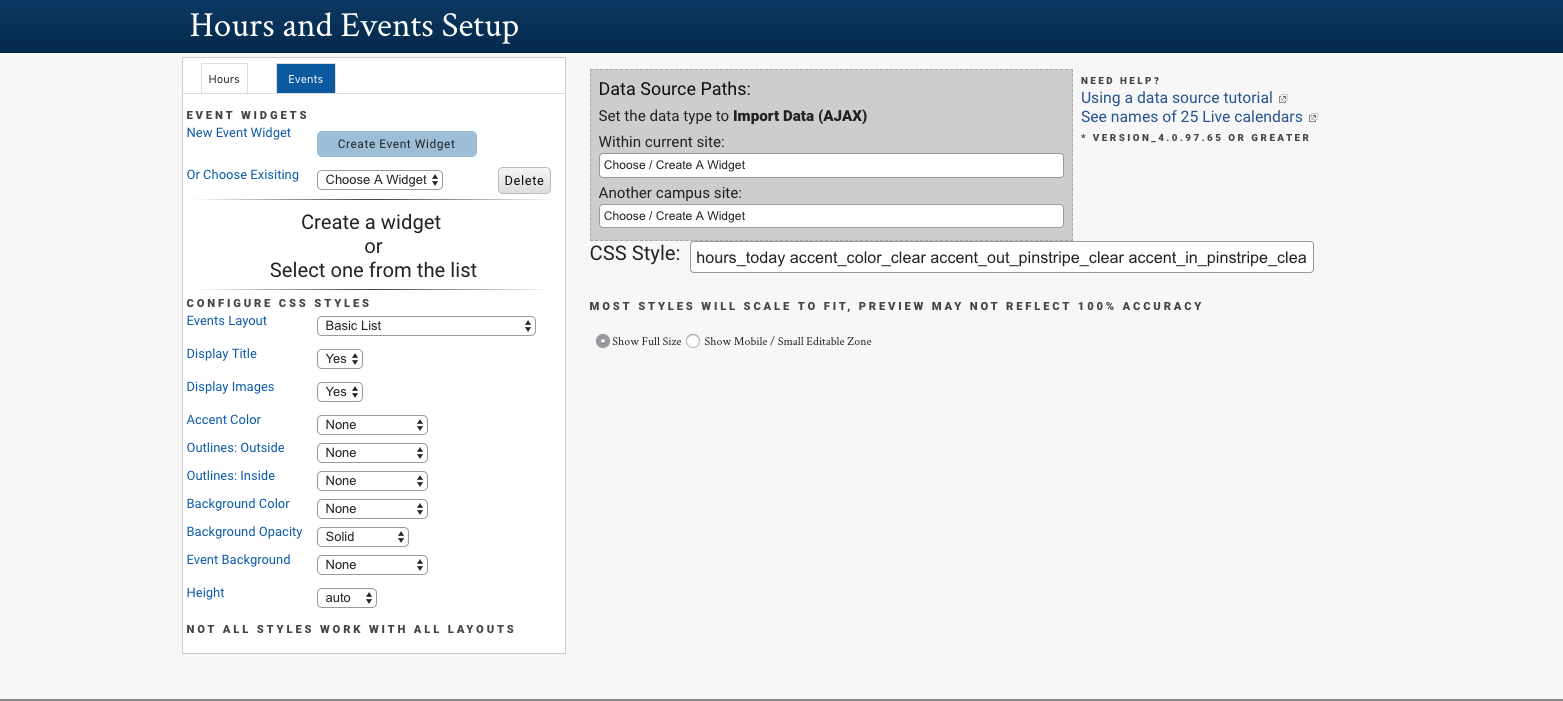
The events widget editor helps create custom events for your website, or to display a campus calendar. You can also create multiple multiple calendars, display events in your calendar based on categories or tags, or combine multiple calendars.
Each image below is linked to a larger preview.
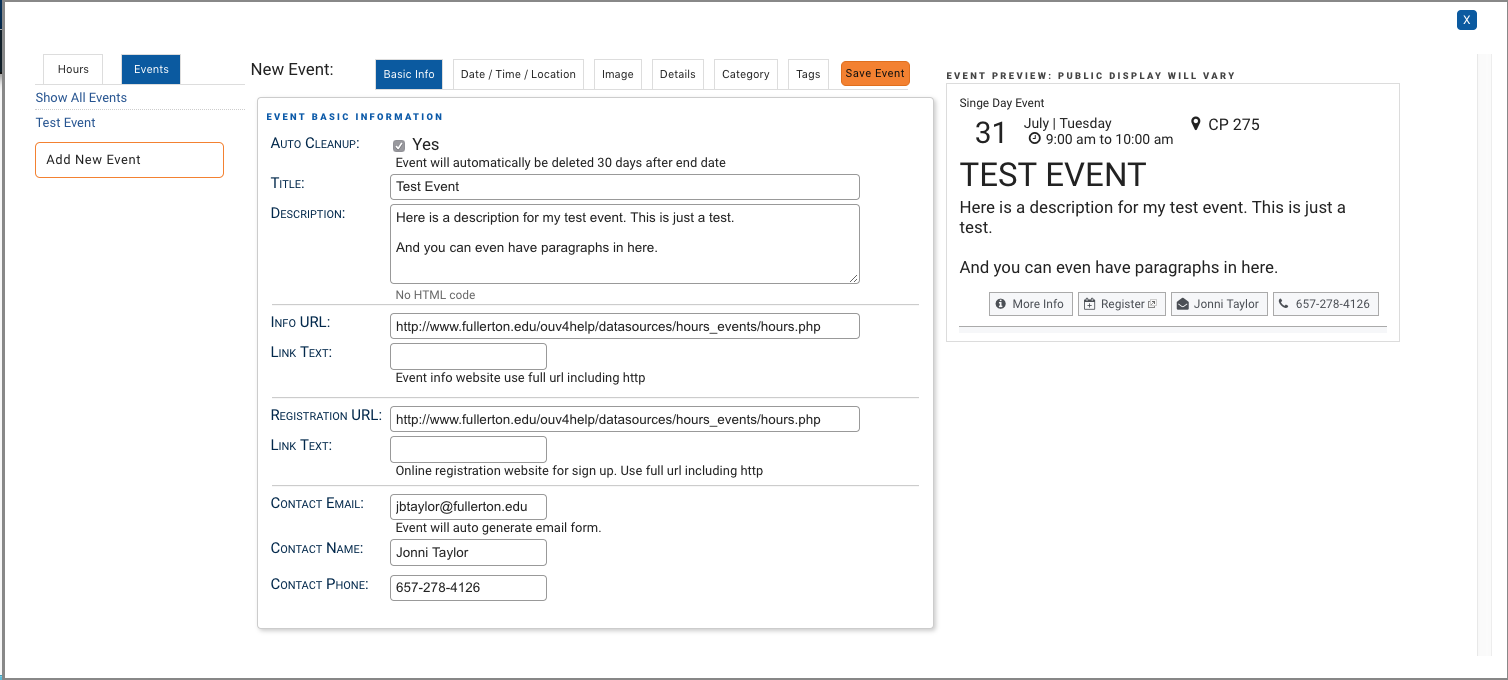
To add an event, simply click the Add New Event button. Be patient, as it may take moment for the form to load. The first screen is the basic info. The example image has all of the fields used, but you only need to use the fields that are relevant to your event.
Please note the orange save button. That button will remain on every section. Make sure you press the save button during each step to save your changes as you go.
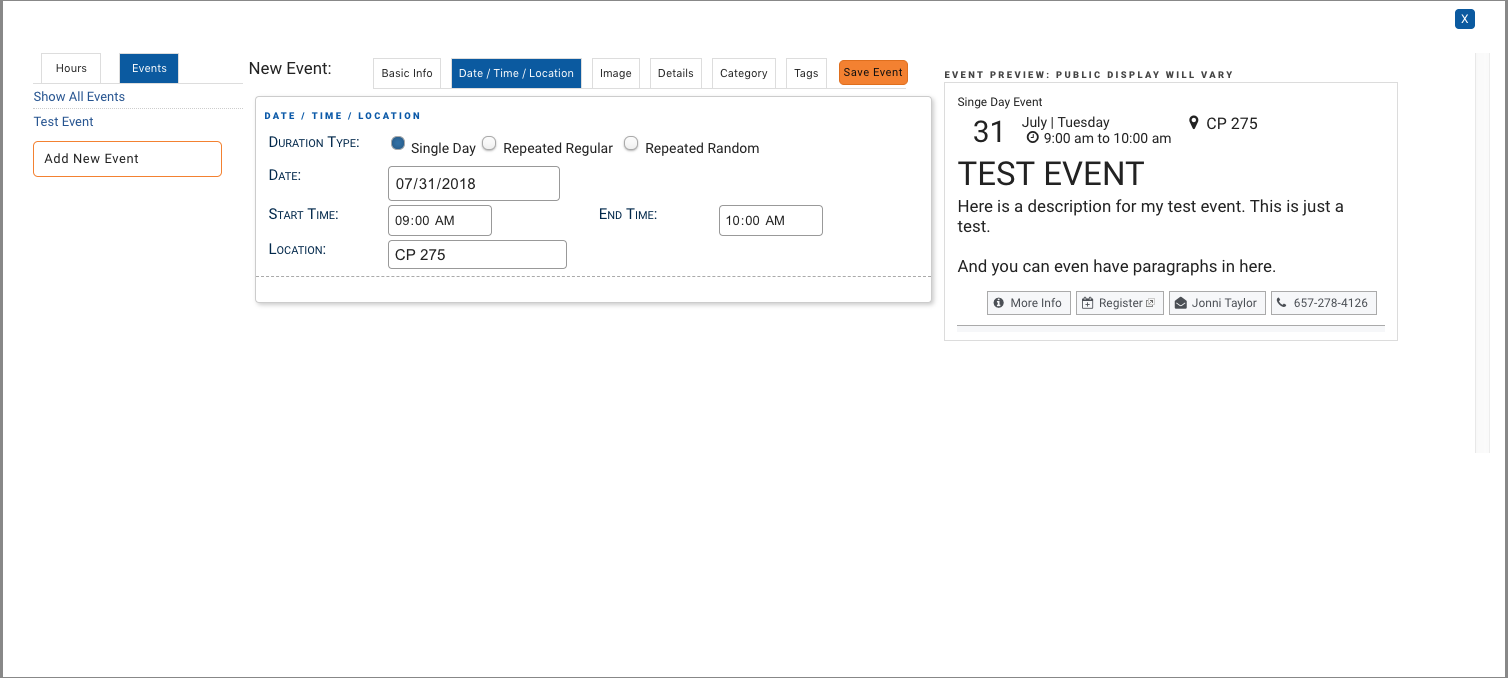
Enter the date, time, and location of your event. When you hover over the date field, you will see a black arrow that will open a calendar which makes adding the date easy.
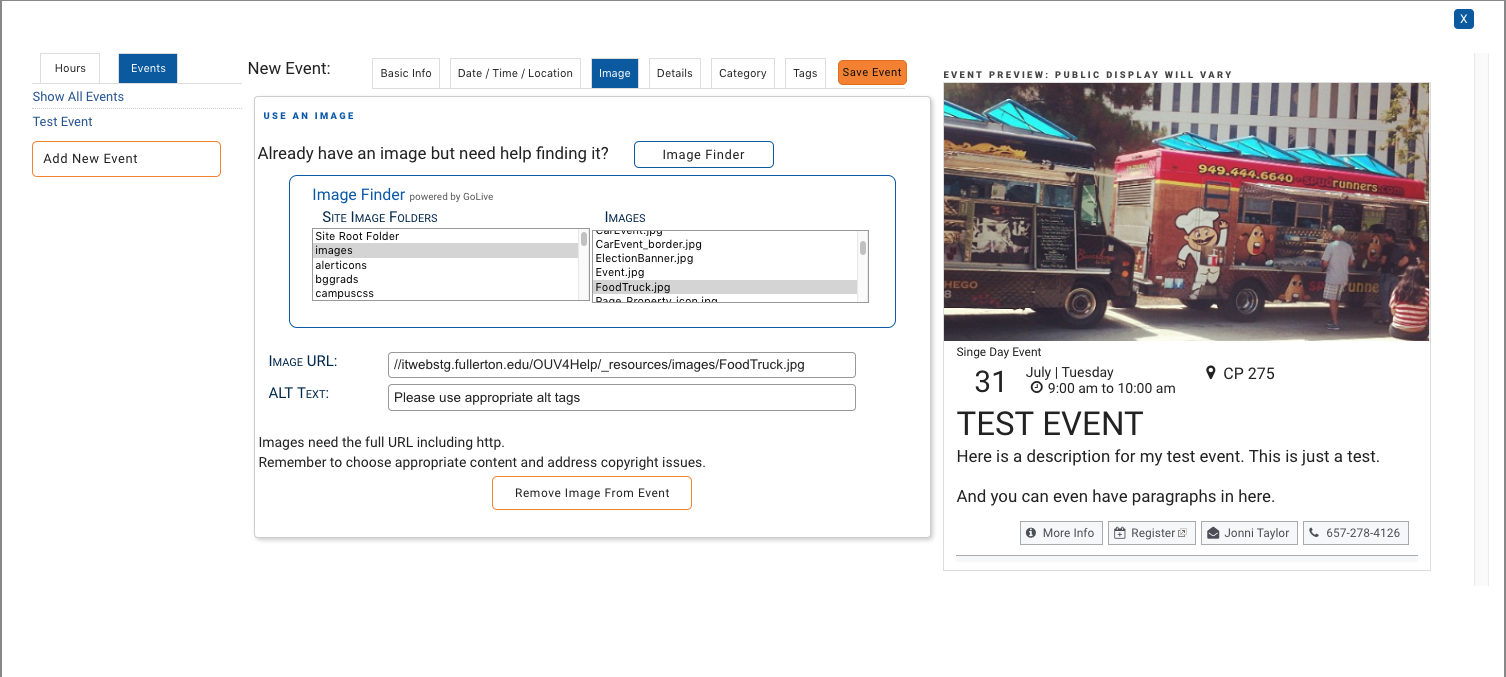
You can add an option image to your event. You will need to upload your images to your images folder first. I recommend making a folder for your event images. The image will not appear until you enter a good alt tag and then click outside of the box.
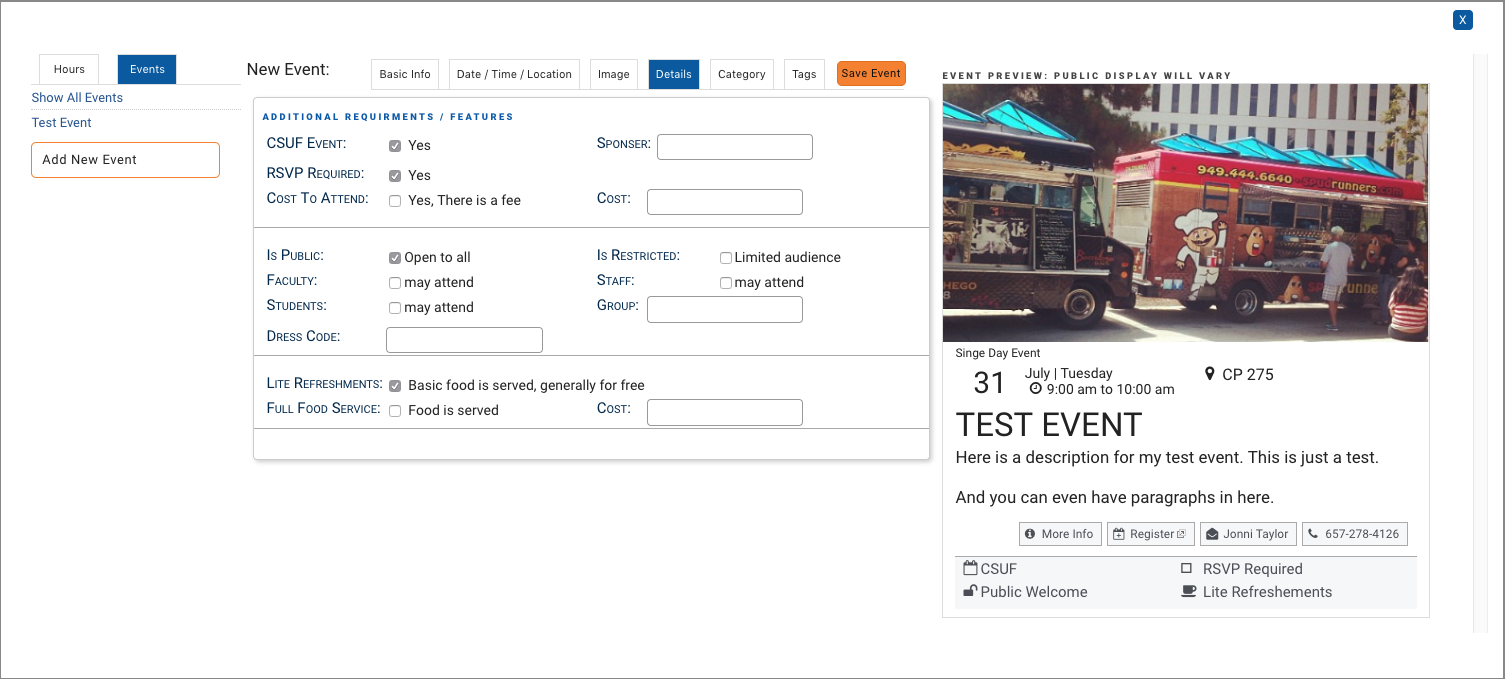
The details section allows you to specify target audiences, if there is a cost, a dress code, and if there will be food.
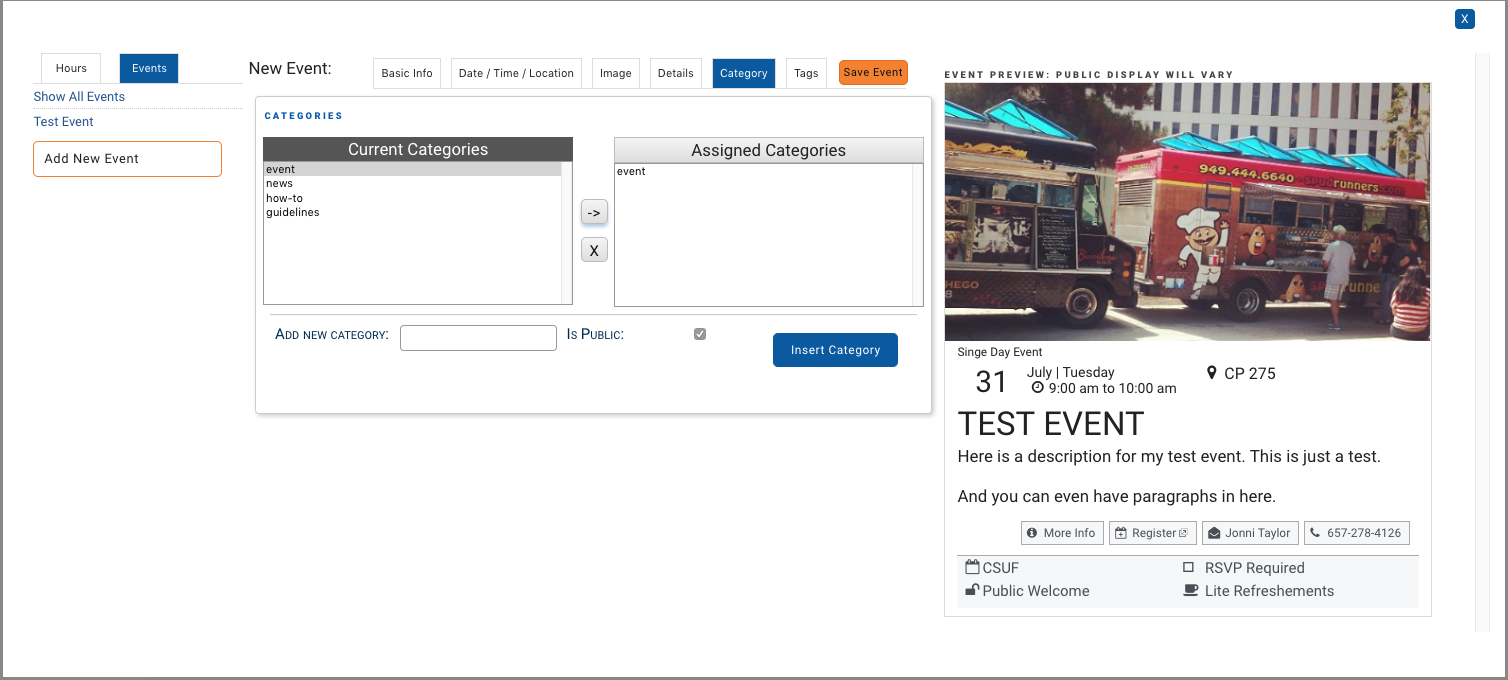
Categories and then tags will allow you to mark and sort your events. For example, you can create an even and add it to the "events" category, but then tag it with "workshops." During the widget setup, you can then create a widget that just displays workshops.
We have included some categories and tags to get you started. We recommend that manage/add categories and tags through the Site Manager found the _setup folder.
Once you have added all of the events you want to add, go to preview mode to set up your widget(s).