Create an Image Gallery
This section will guide you through creating an image gallery.
- Make sure you are in the right directory folder anywhere you want to create an image gallery.
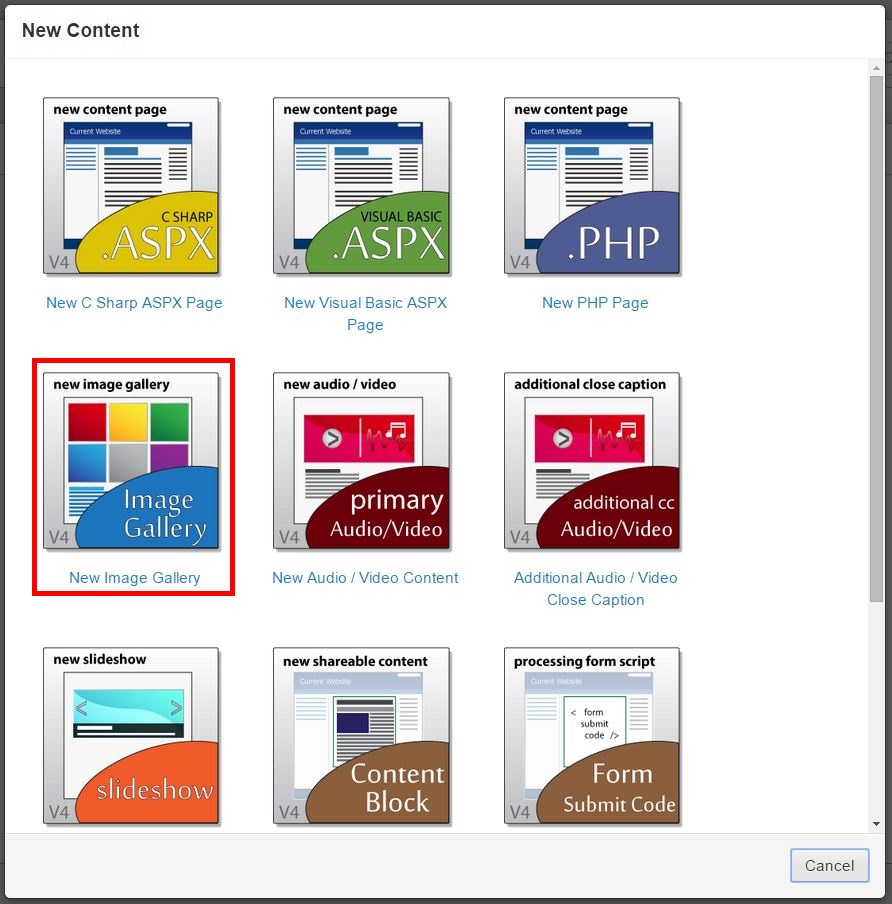
- Click on New button.

- Click on New Image Gallery.
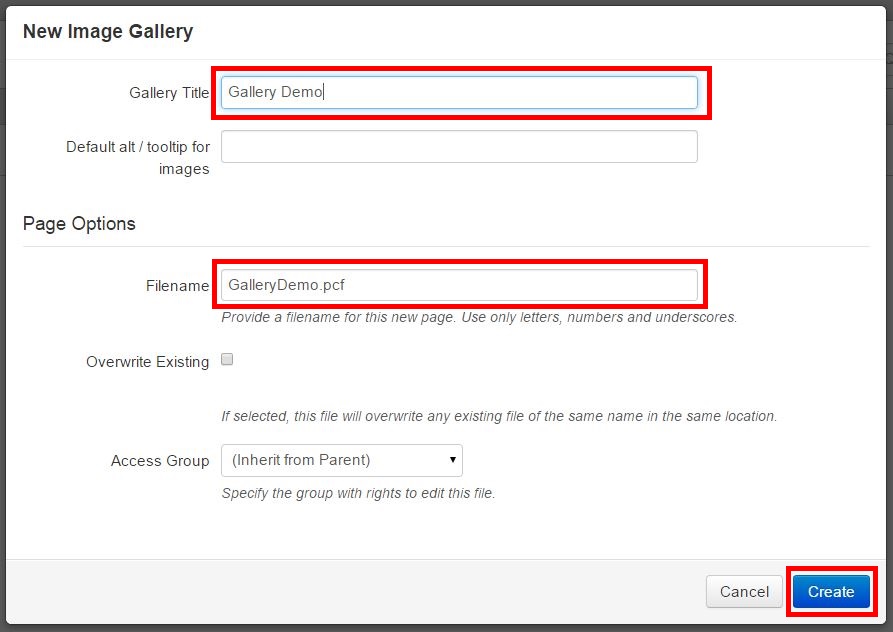
- Enter information about the image gallery and click Create button. Make sure to give your file a meaningful filename so that you can easily tell what kind of file it is.
- Click on Properties button while the Check In light is on.

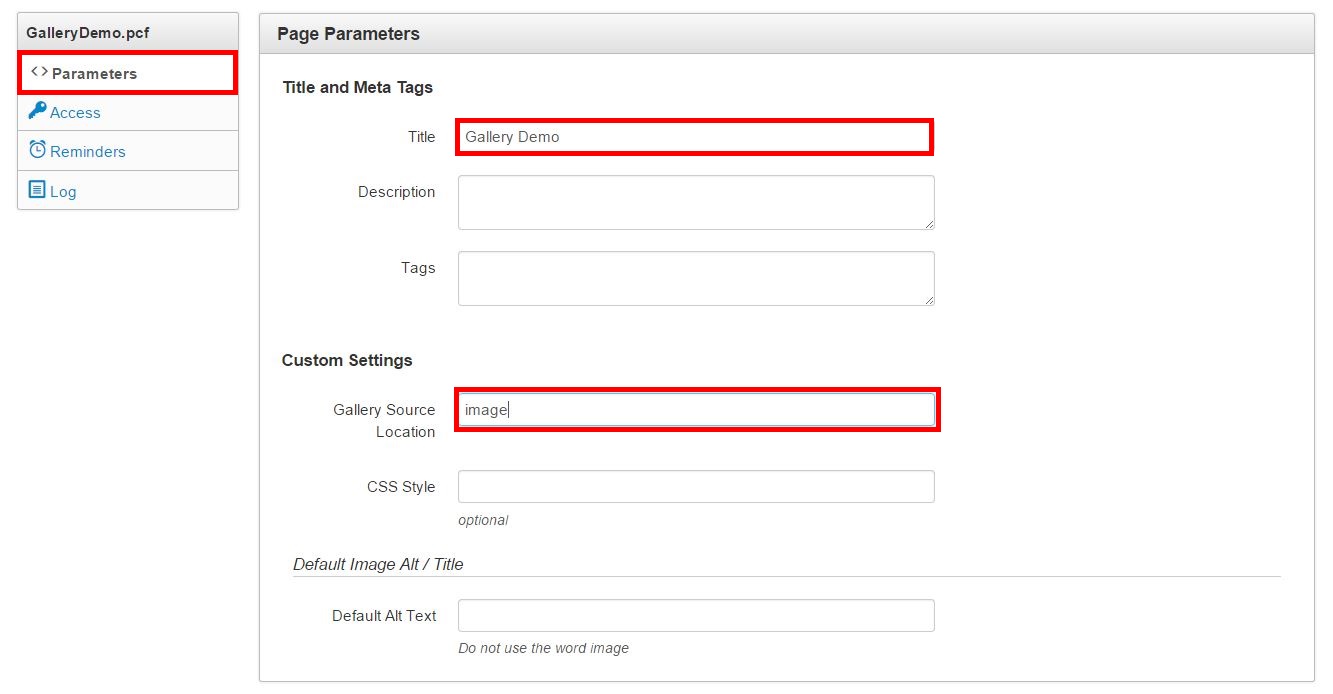
- Click the "<> Parameters" tab, enter "Gallery Source Location" (From Upload Images Steps) and Save it. Your Gallery Source Location is the file path to where your images are. It will usually look something like this: _recourses/images/galleryfoldername.
- Click on Edit button.

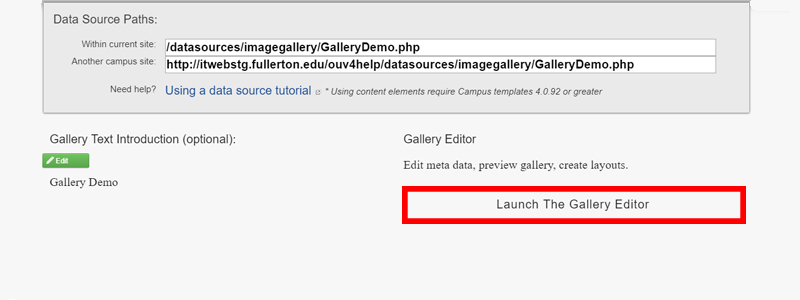
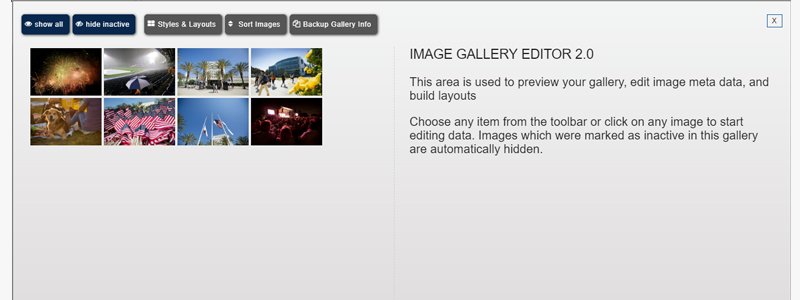
- Click on Launch The Gallery Editor button.
- Demo of Gallery Editor.
- Click on Publish button.

- Save the Data Source Paths for the next step.
