Styles and Layouts
If you have upgraded to version 4.0.99 or greater you will be working with the gallery editor 2.0. It includes several new features and has a more streamlined interface for making updates to images faster and less cluttered.
Gallery Editor Toolbar

After you launch the gallery editor you will see the editor workspace including toolbar, available images, and the editor space on the right side. Across the top you'll notice several buttons which make up the toolbar.
Styles & Layouts
Styles that were previously used are still supported in this version. Once you click on the Styles & Layout option a new configuration area will appear as well as the gallery preview will load. Editor 2.0 tries to be as responsive as possible but realize that the space you choose to display your gallery may be significantly different from the preview, so sizing will differ.
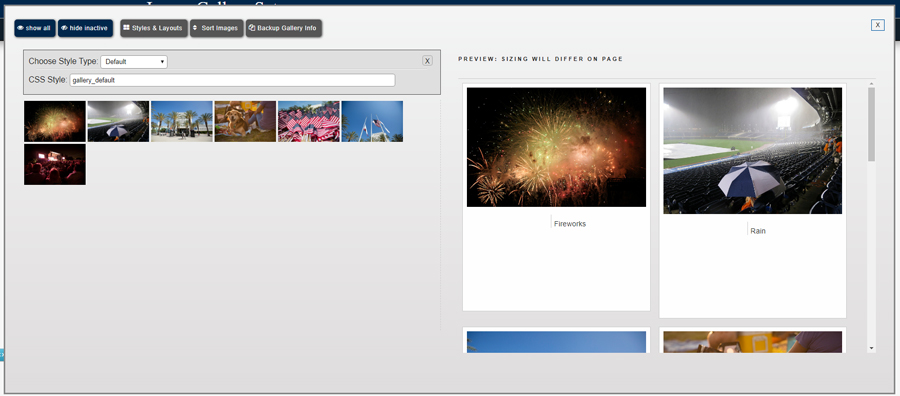
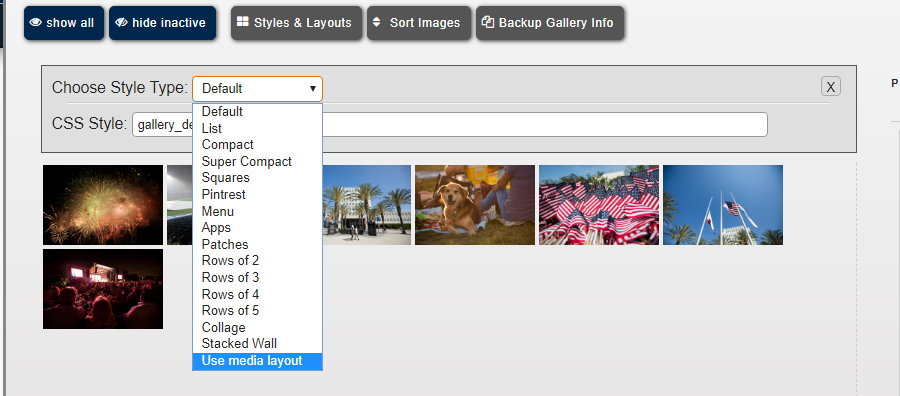
You can choose any of the prebuilt css styles that allows you see the style in real time. The order of the images is directly tied to the sort order that is presented in the available images. If you want to change that order you can do so by using the Sort Images option. See the section on that below for more information.
Images can still edited at any time without losing your layout. Simply click on any image in the available image section and you can edit the image. When you save or cancel the image meta data edit the layout will be displayed again. See the information on the create an image gallery page for more on image meta data editing.
If you are happy with that style you can simply copy the CSS Style text and use it in the page properties where this gallery will be displayed. That's all you need for a built in CSS style. If you are feeling like you have a special layout in mind that isn't available through the built in styles, we have another option for you.
Media Layouts
New in this version we have created Media Layouts as a way for you to custom build your own layouts and then you can present the images directly in that layout based on drag and drop. Media layouts are a site wide concept but we are bringing them into galleries first.
The media layout will first ask you to choose something from your site's catalog. Don't worry if you haven't setup a catalog yet, that isn't really required. Everyone get the 'Test layout 1' which is more than enough to put a media layout on any gallery. As you work with media layouts you may want to create your own presets that will allow you to easily work with any image gallery on your site using a common layout style.
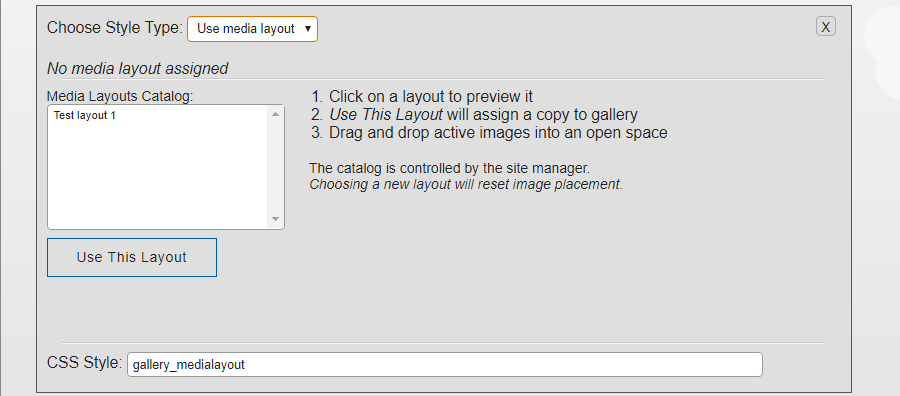
If you have other media layouts in your site catalog they would appear in the list. If you click on the layout name a preview appear in the right side preview space.

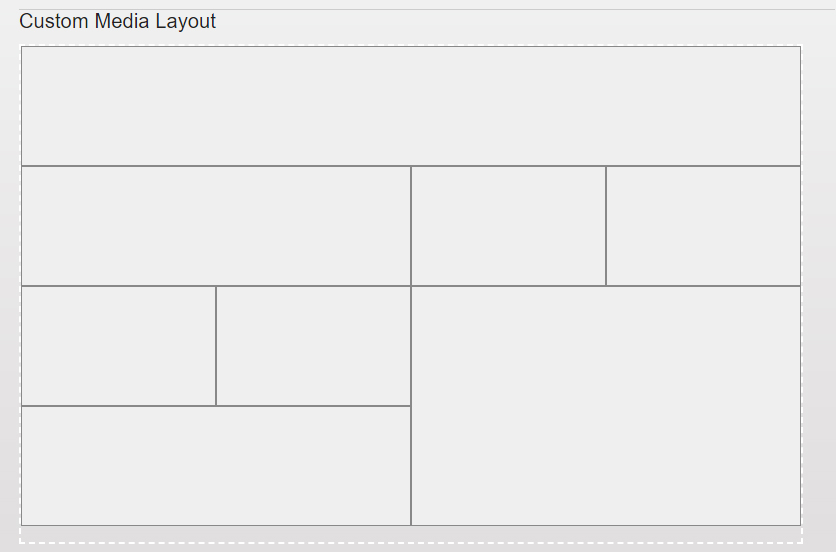
It may not look like much at first but this is a media layout. Each space allows for content to be presented to your user in exactly this layout. If you think this is nothing like what you want, no problem, you can edit your layout at any time. At this point we need to set the layout which will create an instance of it. Don't worry if someone changes the 'Test Layout 1' option, your gallery will remain independent of future changes.
Press the use this layout button to create the media layout for your gallery. Then you can edit the layout, start placing images, or create text blocks in any of the spaces.
Edit Media Layout
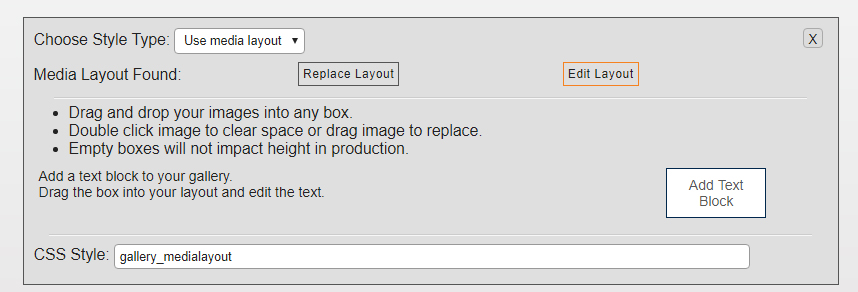
After your have created the initial layout, or the next time you load your gallery and choose the media layout option from the Styles & Layouts tool bar, you will be presented with the main editing options.
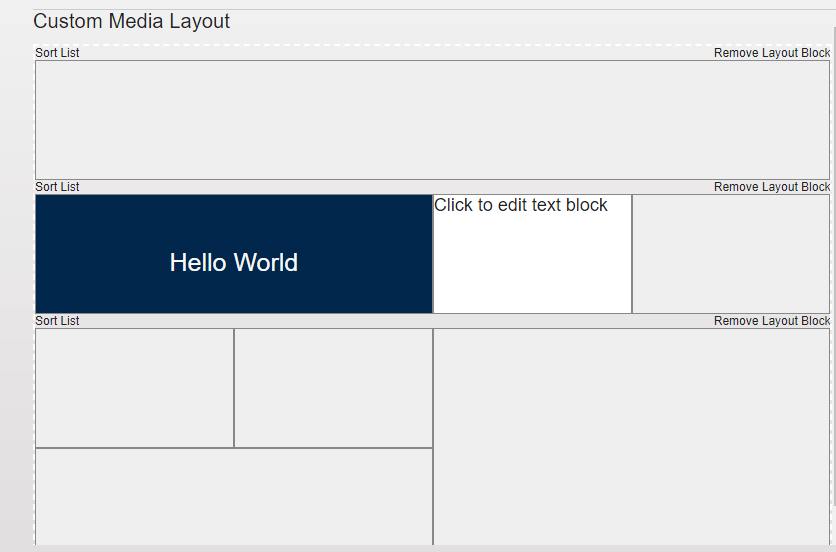
The preview area will show the custom media layout with all the available spaces for content.
We'll assume that you're okay with the default and start dragging images from the available image group, lower left side of the editor, and drop them into the spaces you want to fill. Images are resized to fit as well as they can in these spaces. Some clipping is normal as this layout is responsive and will adjust to fit the space when published on your page. For the layout editing we have adjusted the height so you can see as much of the layout as possible. In production full row images will be taller than shown here.
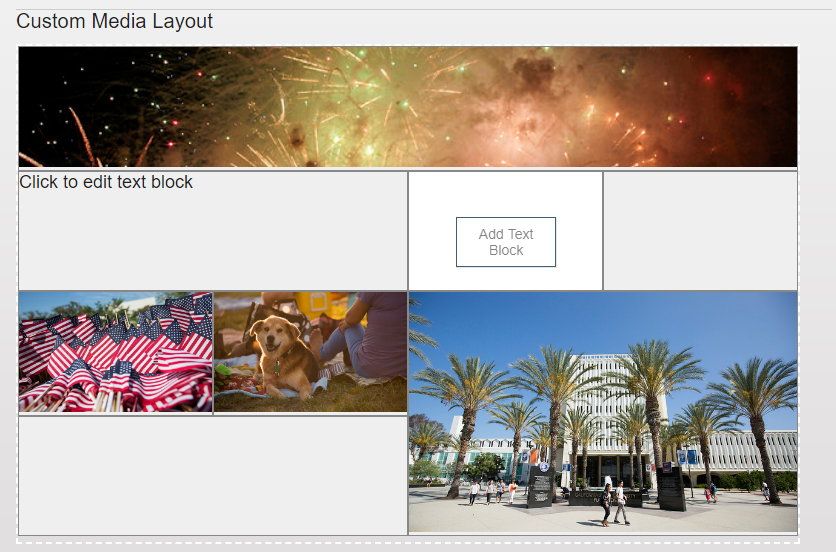
Part of the media layouts also allows you to add text blocks, with optional hyperlinks, into your gallery. Simply dragging either an image or the "Add Text Block" from the media editing options into any space will place that image into the space. If you want to remove any image you can either drop a new image over top or double click the space to remove the current image.
NOTE: Images loaded into the media layout pull the meta data that is used for each image. One exception is the active image status has no impact on if the image being displayed or not. If you choose to deactive an image and use a media layout then you will need to remove that image manually by double clicking on the image in the media layout or replacing it with another image from your availiable images.
Editing Text Blocks
If you want to add a text block to your gallery just drag the "Add Text Block" into the space. Once placed you can simply click on the text to open the text block editor.
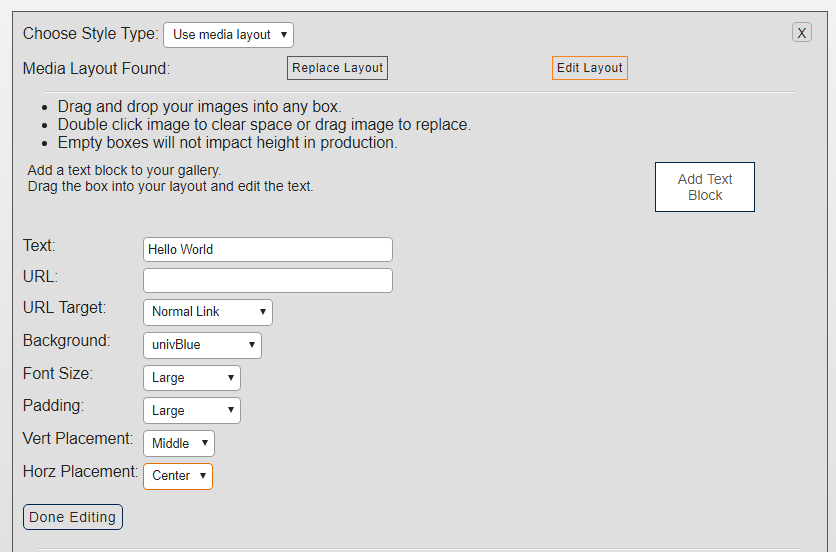
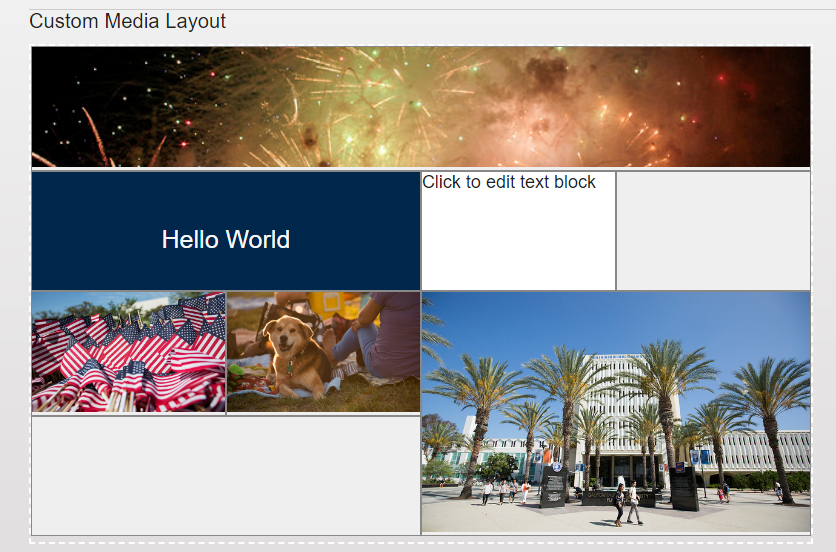
The editing options will dynamically update the text block in your preview to provide you with an idea of what it will look like in real-time. You can change the text, add a hyperlink, and set a background color.
The font size, padding, and placement options try to fit the text the best it can inside your space. Depending on where the gallery is used some large print will occupy the full space even if you want it centered. The sizing is responsive so you may need to adjust the text block after you see it in production.
After making changes to your media file remember to save the layout. Once you add the layout to a page you do not need to republish that page. Changes to the layout will automatically be picked up by any page that uses it.
Editing the Layout
We've already seen how to add images but really the biggest thing about the media layouts is designing a layout that works for you rather than using a canned version. If you want to add to or completely redo the layout you can by pressing the "Edit Layout" button.
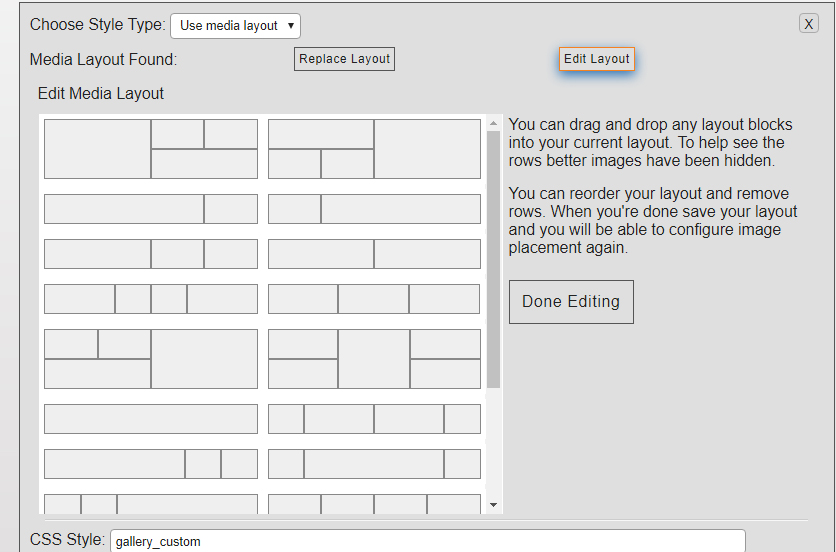
The regular options will be replaced with media blocks. The preview will reformat automatically to show you each row with a "Sort List" and "Remove Layout Block". All images will be hidden during this process to make the layout easier to read.
If you want to reorder the layout you can drag on the "Sort List" option which and drag it up and down. The whole row is moved. Remember these are blocks stacked one on top of the other. Any images in that row will be moved along with it so your image placement stays withing the blocks where you put it originally.
If you want to add new rows simply drag them from the available blocks and put it in between the rows. Try to avoid putting a row inside a layout block, that will cause problems. If it happens just reload click the Styles & Layout button and reload the media layout. It will reload and you can edit again.
Once you're done with the layout simply press "Done Editing" and the images will be reloaded into your layout so you can continue configuring your gallery.
Remember to save the layout when you have finished.
Replace Layout
Should you want to redo the layout from scratch you can. The "Replace Layout" option will start you over from the beginning where you choose the default layout to start with. Be aware that doing this option will completely reset your current layout information. You will loose the text block information within the layout but meta data associated with any image is not lost.
After choosing a new layout just follow the configuration options above and design the layout you want to use.
Remember to save your changes when you are done.