Gallery 2.0 Basics
We have made several changes in the version 2.0 gallery editor and we'll go over the basics.
Gallery Editor Layout
The gallery editor was redesign in 2.0. There is less things opening on top of the main screen and better features to help you make decisions faster. To help you make more of the given space we have divided the layout into three main sections.
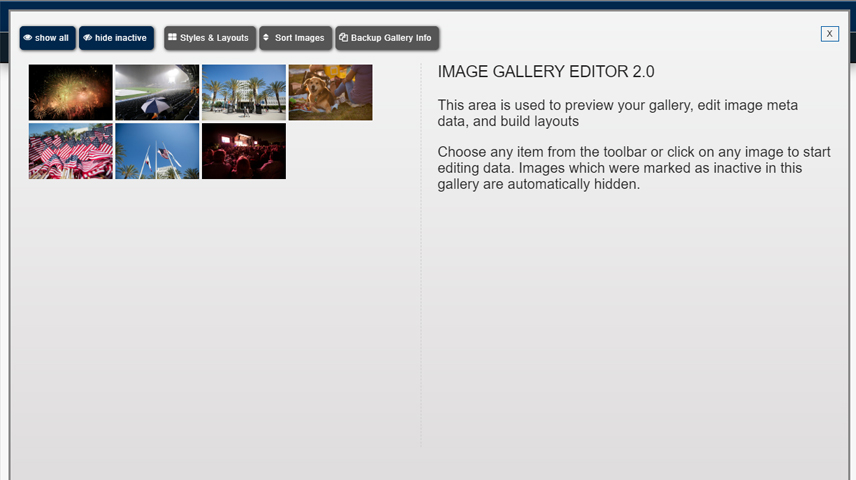
The top of the editor has the toolbar with options to show and hide available images. It also includes setup options for styles & layouts, sorting images, and making backups of your metadata files.
Under the editor toolbar you will see the space divided into two main regions. The left side the the working area where you'll find the available images, the image files found in the setup directory, and to further help reduce clutter we have auto filtered out the images that are set to inactive. You can of course show all if you want.
When you choose to setup different configurations those options will appear on top of the available images and resize the image collection to help with spacial constrains. In some cases your available images may be hidden until you are finished with configuring some options.
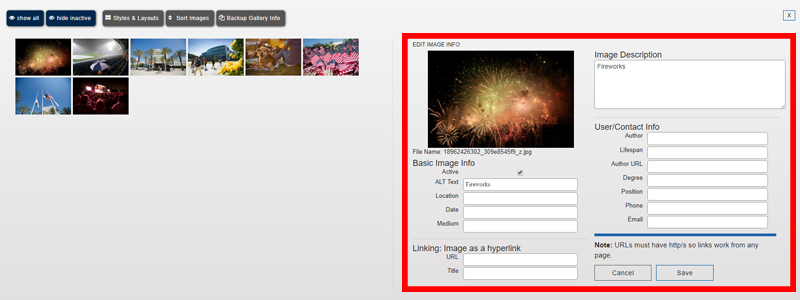
The right side of the editor is reserved for image metadata editing and preview space. When you click on an available image it will open up the metadata fields where you can quickly make changes to image data. If you are working with styles and layouts you will see a real time preview of the content. Just realize this preview is scaled to fit the space and may not represent gallery sizes when you put it into production.
Gallery Editor Toolbar

After you launch the gallery editor you will see the editor workspace including toolbar, available images, and the editor space on the right side. Across the top you'll notice several buttons which make up the toolbar.
Show and Hide Image Filters
To make it faster to deal with your image gallery we have provided you with the default images showing only those that are marked active. Use the Show All and Hide Inactive buttons to show or hide your images within the available image space. Images that are set to inactive will have a red line around them when showing all.
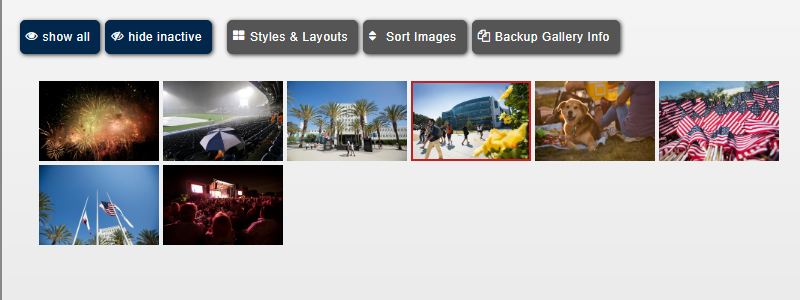
If you add images to the directory where the gallery is set (in the page properties), those images are automatically marked inactive until you choose to activate them. Just click the Show All feature and you will see them appear in the available images area.
Edit Image Metadata
To edit image information, or metadata, click on the image and the editor will open on the right side. You can change any of the fields and press Save to update the image. If you have been working on a layout that should appear on the right side automatically.